GPIO Setup & First Script

GPIO Pinout Overview
Every Raspberry Pi (since the Pi 2/Zero era) has a 40-pin GPIO header. Run this from an SSH session to print a labeled diagram for your specific board:
pinout
(part of the gpiozero package — already installed on Raspberry Pi OS). Key things to know:
- Pins are 3.3V logic, not 5V — see Safety Notes below.
- Physical pin numbers (1–40) differ from BCM GPIO numbers (e.g. physical pin 11 is
GPIO17) — most Python libraries, including gpiozero, use BCM numbers. - Dedicated 5V and 3.3V power pins and GND pins are broken out alongside the GPIO pins — check the
pinoutdiagram before wiring anything.
Enabling I2C / SPI
GPIO digital pins work with no extra setup. If your project uses an I2C or SPI sensor/display, enable the relevant interface first:
sudo raspi-config
Go to Interface Options, then enable I2C and/or SPI as needed. Reboot afterward.
Installing gpiozero
gpiozero is the standard, beginner-friendly Python library for GPIO on Raspberry Pi OS — it's preinstalled on both the Desktop and Lite images. Confirm it's available:
python3 -c "import gpiozero; print(gpiozero.__version__)"
If it's missing (e.g. a minimal custom image), install it with:
sudo apt install python3-gpiozero
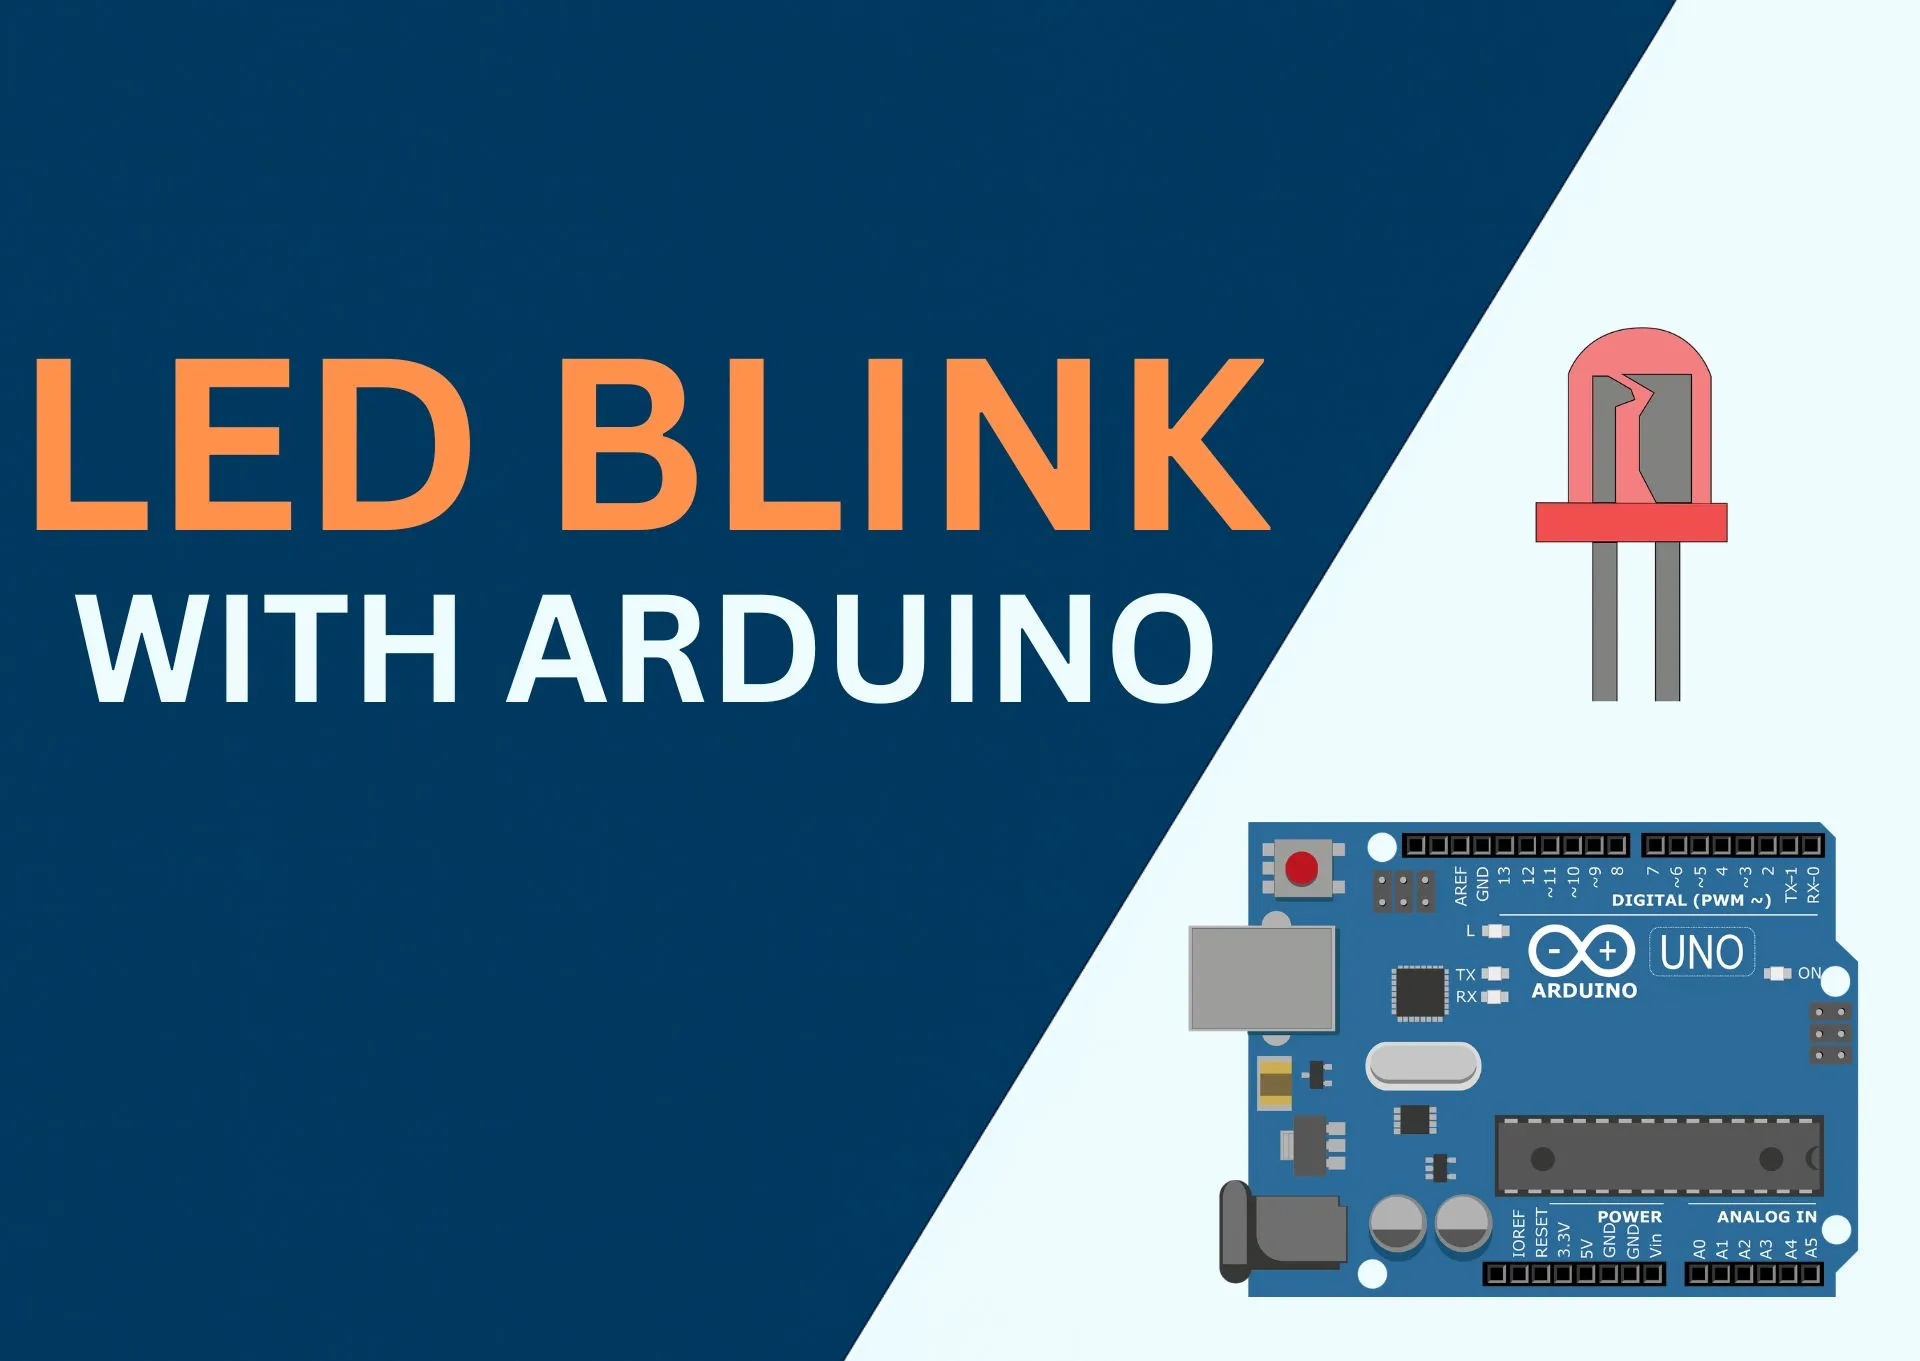
Your First Script: Blink an LED
Wire an LED (with a current-limiting resistor, e.g. 330Ω) between GPIO17 (physical pin 11) and a GND pin, then create blink.py:
from gpiozero import LED
from time import sleep

led = LED(17)  # BCM GPIO17

while True:
    led.on()
    sleep(1)
    led.off()
    sleep(1)
Run it:
python3 blink.py
Press Ctrl+C to stop. The LED should turn on and off once per second.
Safety Notes
- 3.3V logic only — Raspberry Pi GPIO pins are not 5V tolerant. Connecting a 5V signal directly to a GPIO pin can permanently damage the board. Use a logic-level shifter when working with 5V sensors/modules.
- Current limits — each GPIO pin can safely source/sink a limited current (a few mA per pin, tens of mA total across all pins combined, depending on the board). Never connect a motor, relay coil, or high-current LED directly to a GPIO pin — drive it through a transistor, MOSFET, or relay module instead.
What's Next?
- Try JustFlash if you're also working with an Arduino/ESP32/ESP8266/Pico alongside your Pi
- Explore Basic Electronics fundamentals like resistors, LEDs, and breadboards